The second part of this series covers creating our first Android Virtual Device or AVD. The Android Virtual Device (AVD) is basically a configuration for the Android SDK’s emulator that lets you define the hardware and software characteristics of an actual Android advice that you can then test your code on. Whilst not being as good as running your app on real hardware, testing it on an AVD is the next best thing!
You can either watch the Android Create AVD video above or follow the steps below, it’s dead easy!

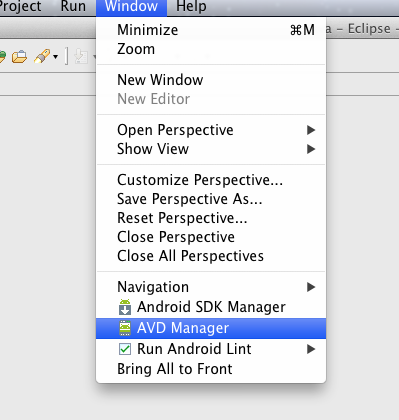
First we need to start the AVD Manager by going to Window -> AVD Manager
 ][1]
][1]Then click on New to bring up the AVD Configuration Dialog.

Enter an appropriate name, select your API target, the size of the SD card and skin/resolution you want to use then click Create AVD.
 ][2]
][2]The AVD creation will take about 1 minute to run, but then the new AVD will appear in your list of available AVDs. It’s possible to make many different AVDs to test your application on many different screen sizes and hardware profiles!

If you’re new to the Android mobile operating system, Learning Android is the perfect way to master the fundamentals. This gentle introduction shows you how to use Android’s basic building blocks to develop user interfaces, store data, and more. You’ll build an example application throughout the course of book, adding new features with each chapter. You’ll also build your own toolbox of code patterns that will help you program any type of Android application with ease.