I’m really trying to get in to this whole Java web development frame of mind, as it’s a bit of fun, a bit of a giggle, and it’s massive in this area of the world! So obviously my first port of call was dusting off Eclipse and kicking out a HelloWorld style Java servlet!
I grabbed a copy of O’Rielly’s Java Servlet Programming to get started and found it really invaluable, and definitely recommend this book to anyone starting out in Java servlet programming.
Eclipse on Ubuntu, even Intrepid is well old, so rather than work with the out of date supplied package, I found it best to download the latest version direct from the site. Also the easiest way to hook Tomcat in to Eclipse is also to download that from the site.
Get the latest Eclipse IDE for Java EE Developers and Tomcat 6
Extract them both to somewhere reasonable, I like ~/local :
idimmu@boosh:~/local$ ls -al

total 173212

drwxr-xr-x 4 idimmu idimmu 4096 2009-03-11 15:01 .

drwxr-xr-x 63 idimmu idimmu 4096 2009-03-11 15:01 ..

drwxr-xr-x 9 idimmu idimmu 4096 2009-03-11 15:01 apache-tomcat-6.0.18

-rw-r--r-- 1 idimmu idimmu 6142197 2009-03-11 11:27 apache-tomcat-6.0.18.tar.gz

drwxr-sr-x 9 idimmu idimmu 4096 2009-02-23 19:36 eclipse

-rw-r--r-- 1 idimmu idimmu 171022452 2009-03-11 10:57 eclipse-jee-ganymede-SR2-linux-gtk.tar.gz
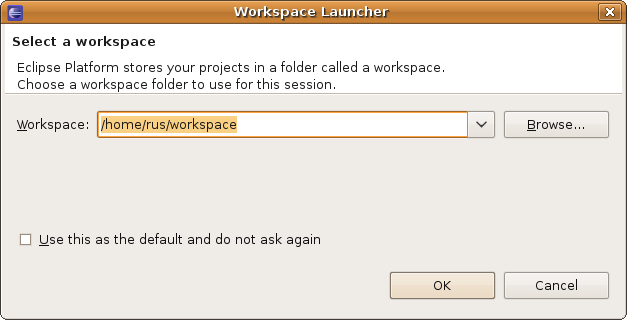
Start Eclipse! The first thing that Eclipse will do is ask you to create a new Workspace. Your home directory isn’t a bad choice to put this!
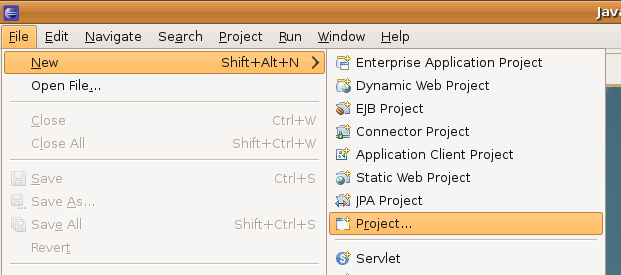
Go to New->Project
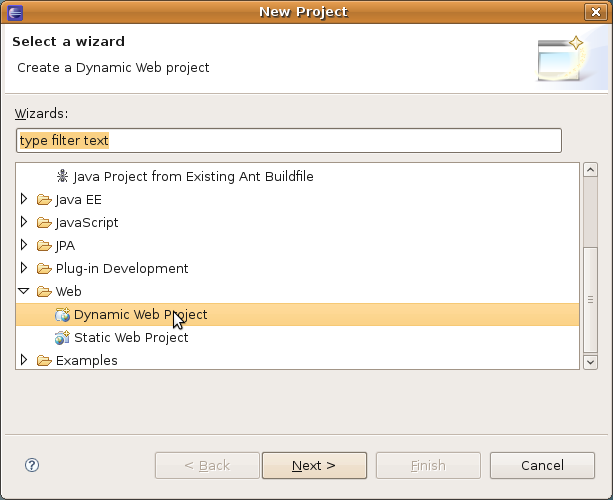
Select ‘Dynamic Web Project’
Set ‘Project Name’ to ‘helloworld’
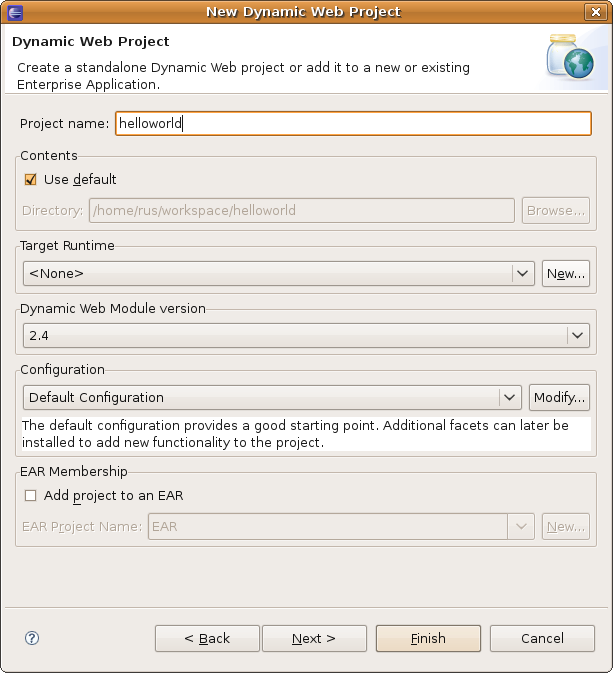
Create a ‘New’ ‘Target Runtime’
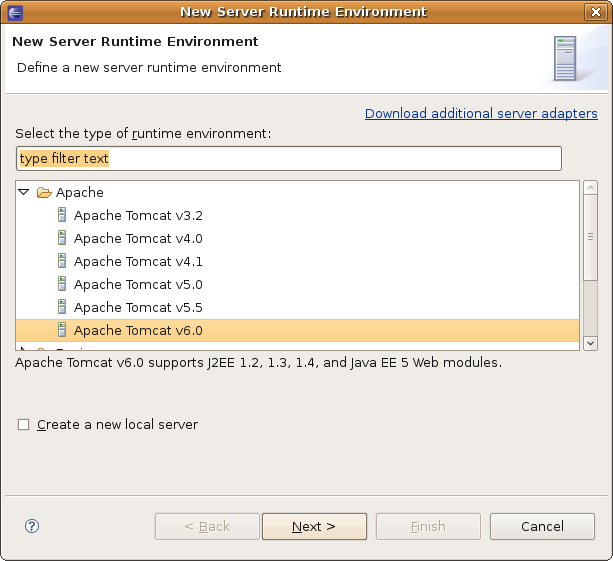
Select ‘Apache Tomcat v6.0’
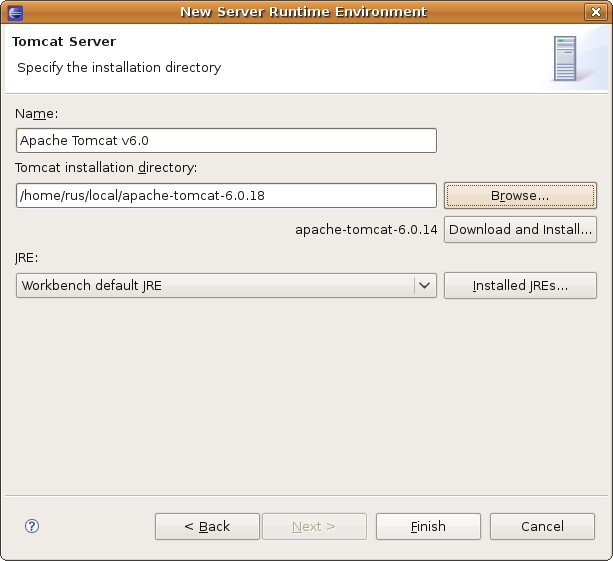
Select the Tomcat Installation Directory you extracted Tomcat to earlier.
Then click ‘Finish’ to create the project.
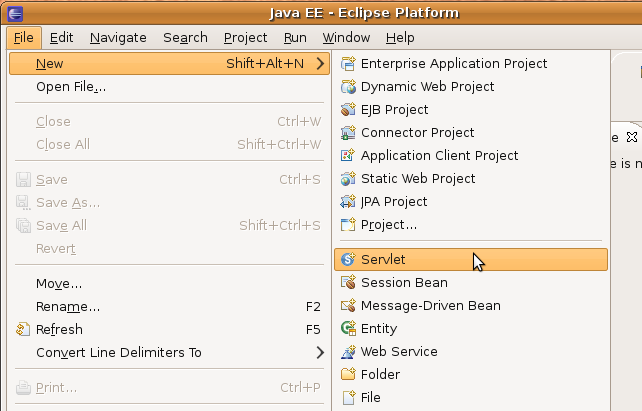
Go to File->New->Servlet
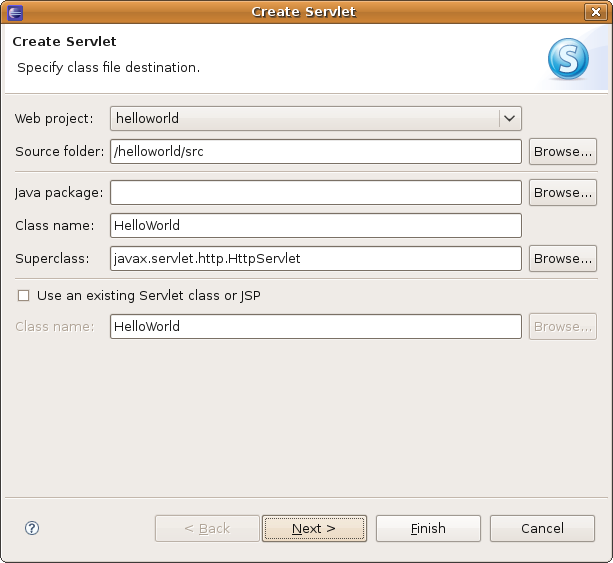
Enter ‘HelloWorld’ as the ‘Class name’
Click ‘Finish’
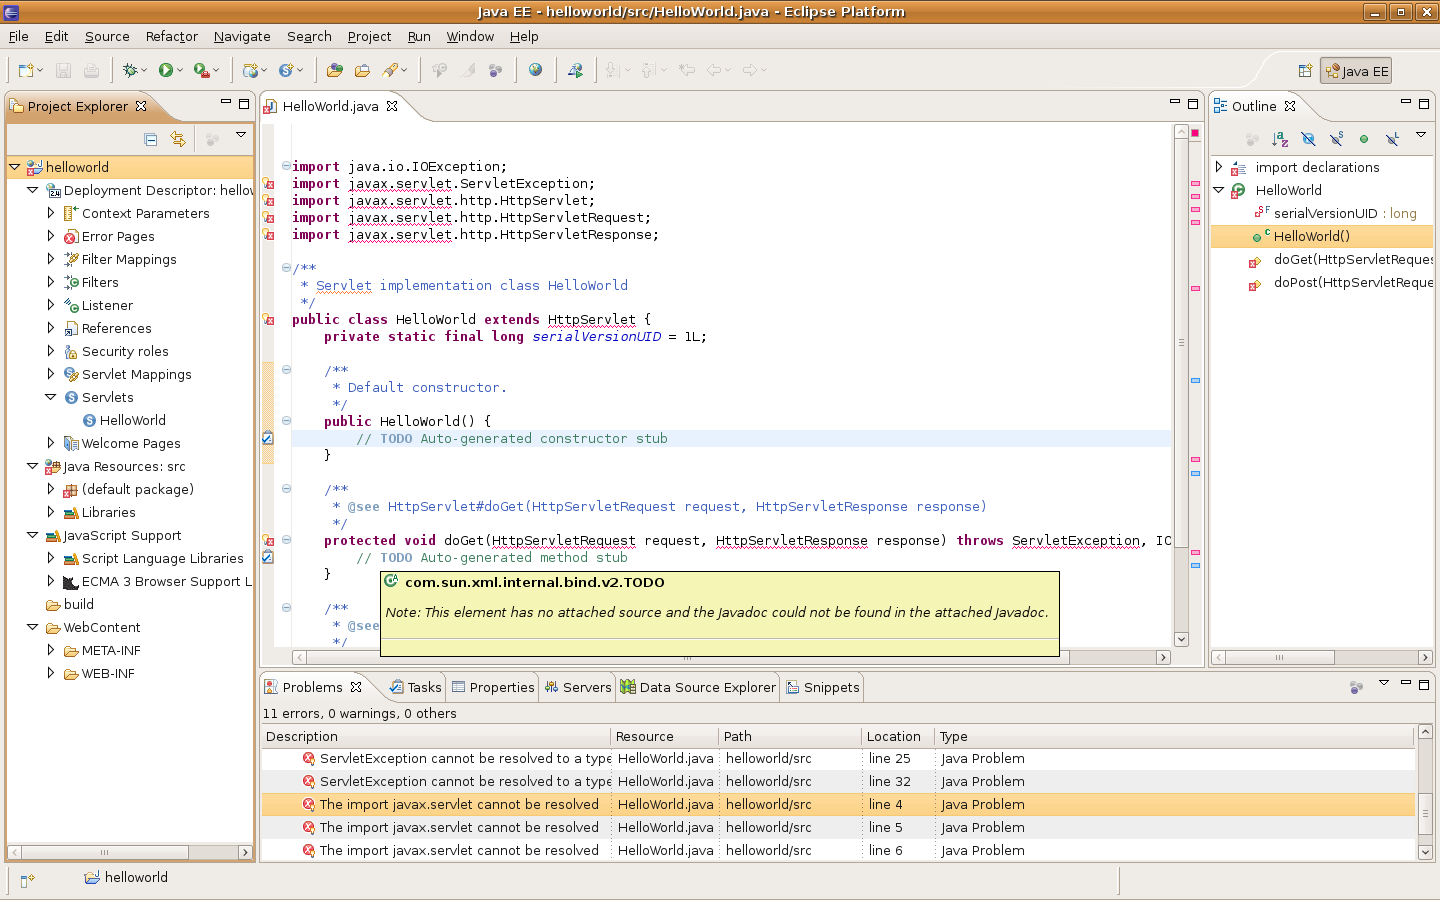
A new ‘HelloWorld.java’ file will be created with most of the work done for you!
Look at all the shiny code the IDE has already written for you!
import java.io.IOException;
import javax.servlet.ServletException;
import javax.servlet.http.HttpServlet;
import javax.servlet.http.HttpServletRequest;
import javax.servlet.http.HttpServletResponse;
/**
* Servlet implementation class HelloWorld
*/
public class HelloWorld extends HttpServlet {
private static final long serialVersionUID = 1L;
/**
* Default constructor.
*/
public HelloWorld() {
// TODO Auto-generated constructor stub
}
/**
* @see HttpServlet#doGet(HttpServletRequest request, HttpServletResponse response)
*/
protected void doGet(HttpServletRequest request, HttpServletResponse response) throws ServletException, IOException {
// TODO Auto-generated method stub
}
/**
* @see HttpServlet#doPost(HttpServletRequest request, HttpServletResponse response)
*/
protected void doPost(HttpServletRequest request, HttpServletResponse response) throws ServletException, IOException {
// TODO Auto-generated method stub
}
}
This code does nothing on it’s own, well, it will generate a completely empty web page if you build it and deploy it to Tomcat, not very exciting .. so ..
Import the following new class:
import java.io.PrintWriter;
Insert the following code in to the doGet function stub:
response.setContentType("text/html");

PrintWriter pw = response.getWriter();

pw.println("");

pw.println("");

pw.println("");

pw.println("
Hello World
");
pw.println("");
The complete source code for the class will now look like this:
import java.io.IOException;
import java.io.PrintWriter;
import javax.servlet.ServletException;
import javax.servlet.http.HttpServlet;
import javax.servlet.http.HttpServletRequest;
import javax.servlet.http.HttpServletResponse;
/**
* Servlet implementation class HelloWorld
*/
public class HelloWorld extends HttpServlet {
private static final long serialVersionUID = 1L;
/**
* @see HttpServlet#HttpServlet()
*/
public HelloWorld() {
super();
// TODO Auto-generated constructor stub
}
/**
* @see HttpServlet#doGet(HttpServletRequest request, HttpServletResponse response)
*/
protected void doGet(HttpServletRequest request, HttpServletResponse response) throws ServletException, IOException {
response.setContentType("text/html");
PrintWriter pw = response.getWriter();
pw.println("");
pw.println("");
pw.println("");
pw.println("
Hello World
");
pw.println("");
}
/**
* @see HttpServlet#doPost(HttpServletRequest request, HttpServletResponse response)
*/
protected void doPost(HttpServletRequest request, HttpServletResponse response) throws ServletException, IOException {
// TODO Auto-generated method stub
}
}
‘Save All’ using Shift+Ctrl+S or the File menu.
Go to the ‘Run’ menu and select ‘Run’ or press Ctrl+F11 to build the servlet, deploy it to Tomcat and run it!

Make sure ‘Tomcat v6.0 Server’ is selected and click ‘Always use this server when running this project’ then click ‘Finish’
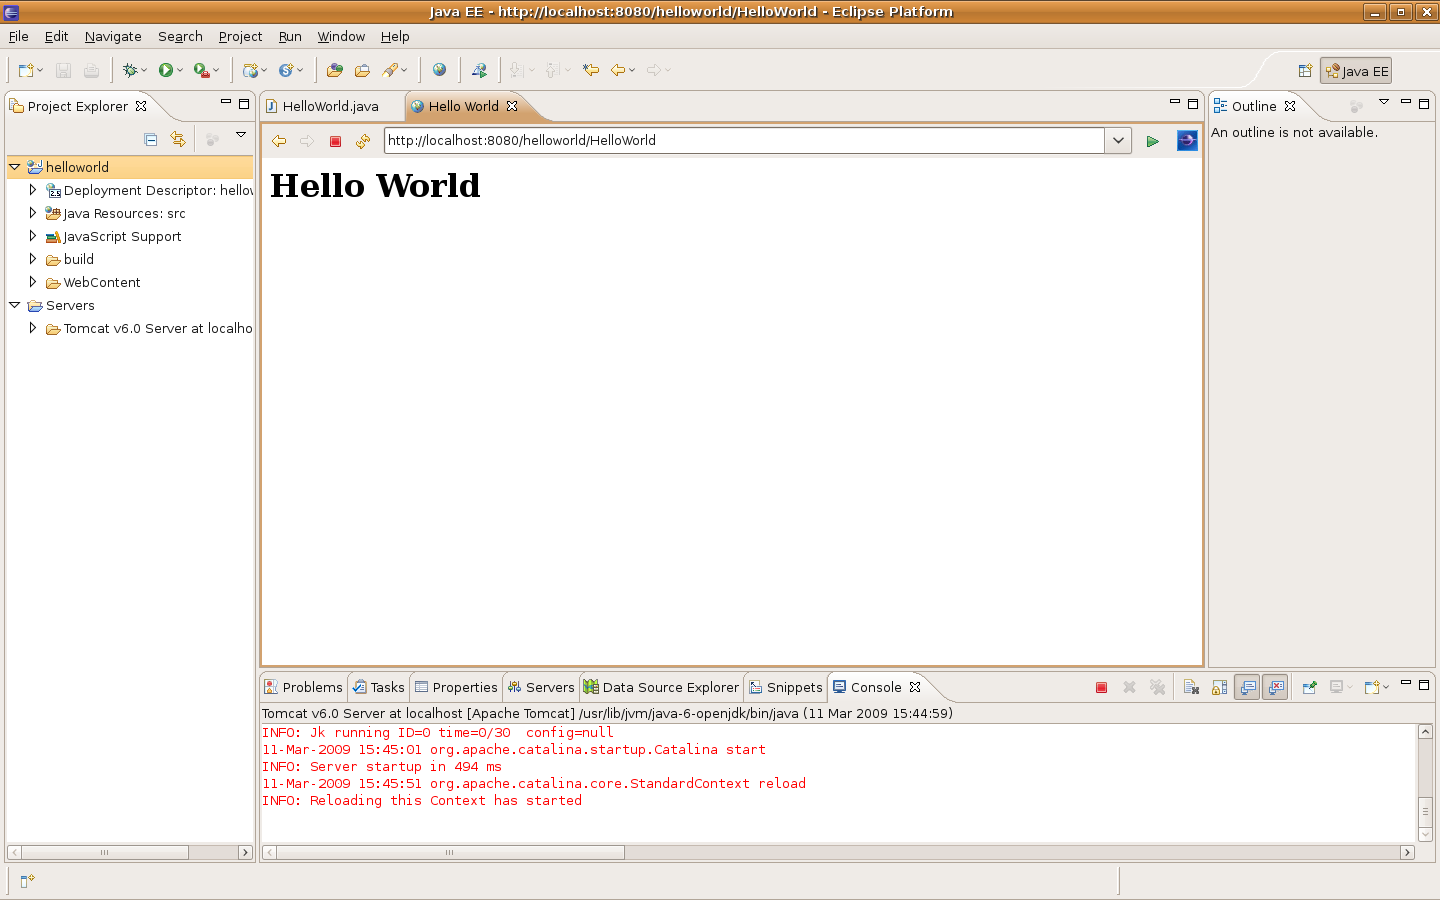
Tada, Hello World! You might have to run it a few times to get Tomcat to sort itself out, as it’s a bit wonky, but the very mundane site should now be available on https://localhost:8080/helloworld/HelloWorld!!
If you really want to be a rock and roll Java super star and learn how to use Eclipse and Tomcat properly, I thoroughly suggest you get a copy of O’Reilly’s Eclipse book and learn how to use it properly.


HTTP Status 404 – /
type Status report
message /
description The requested resource (/) is not available.
Apache Tomcat/6.0.32
Check the ‘web.xml’ for the servlet mapping.
Tomcat is not able to see the .class.
Thank you so much. Helpful information.
thank you. even so i f*ckn hate eclipse (but was forced to use it) everything worked just fine. example is more then detailed and usefull
now i`m off to read some explanatory info
good information about servlet execution
great, many thanks for this, nice and simple to follow.
300Mb of Eclipse
250Mb of Tomcat
300Mb of MySQL
and as you say, TADA… two words!
But thats just the beginning…
PrintWriter cannot be resolved to a type error when I followed this example